Declutter Customer Lists By Securing Them Through Address Books
Posted by Author, Curator, Visually Impared Squirrel Literacy Advocate & Dynamics AX Technical Solution Professional (TSP) at Microsoft on
Sometimes giving everyone access to every contact within the global address book is not necessary. Maybe you want to show people only contacts within their region, or legal entity, maybe you want to hide away inactive contacts from the default lists, or maybe you are just paranoid and don’t want to give people access to all the contacts in the system. Regardless of the reason, you can do this easily with a click of the switch within Dynamics AX through the Address Book Security feature.
Now you can keep your special client list away from prying eyes.
How To Do It…
Just to show that there is nothing up my sleeves, this is the user before making this change. They have access to all of the contacts by default.

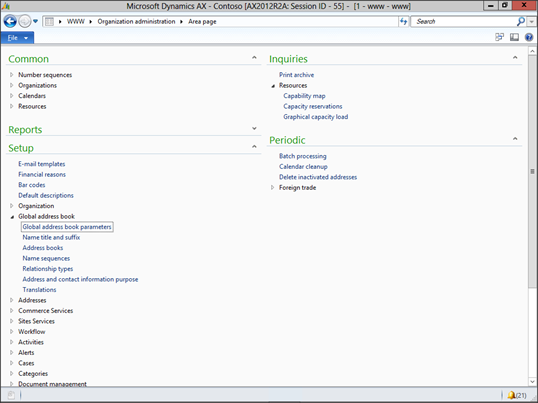
The first step to lock down the contact information is to set up some address books that we can use to classify them. To do this click on the Address Books menu item within the Global Address Book folder of the Setup group within the Organization Administration area page.

If when the Address Books maintenance form is displayed you don’t have any records, just click on the New button in the ribbon bar to create new record.

Now that we have address books configured we can start assigning them to the Customer records. To do this, open up your Customers detail page, and within the General fast tab, click on the Address Books field and select all of the address books that you want to assign to the customer record.
Repeat this for all the customers and then close out of the form.

Note: Any record that does not have an address book record will be treated as globally available.
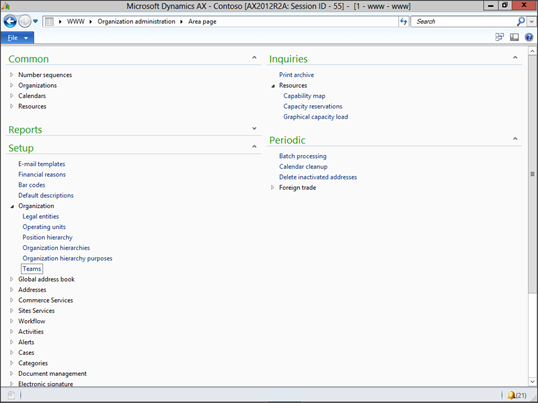
Dynamics AX restricts access to the Address Books by Teams to make the administration easier. So we need to make sure that we have some Teams defined. To do this, click on the Teams menu item within the Organization folder of the Setup group within the Organization Administration area page.
When the Teams maintenance form is displayed, make sure that all of your employees are configured within a Team and then close out of the form.

Now we will enable the security around the contacts. To do this, click on the Global Address Book Parameters menu item within the Global Address Book folder of the Setup group within the Organization Administration area page.
When the Global Address Book Parameters maintenance form is displayed, select the Security Policy Options page.
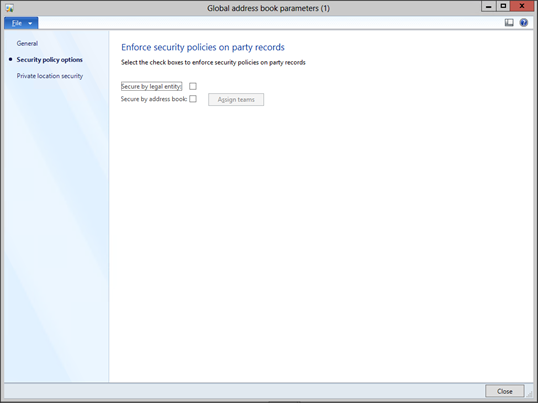
To secure the address books, just click on the Secure By Address Book check box.
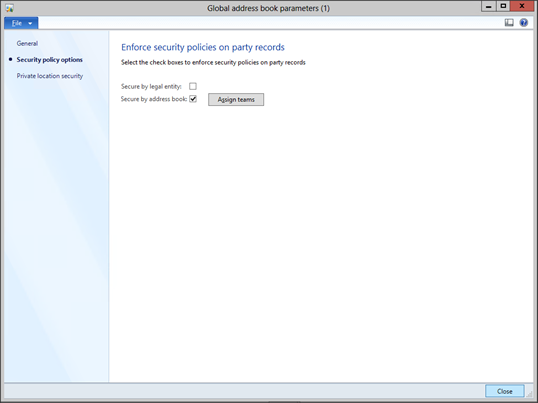
Note: When you save the change (CTRL+S) then Dynamics AX actually updates the database security so you may notice the log file trace pops up. After this is done, you can close the info panel.

Now that the security has been enabled, we need to specify who has access to the Address Books. To do this, click on the Assign Teams button.

When the Assign Teams To Address Books maintenance form is displayed, select the Address Book that you want to secure.
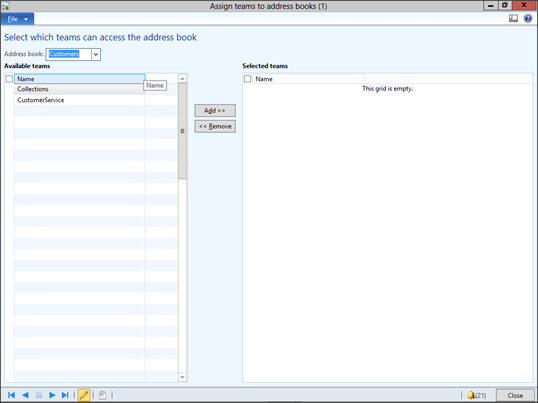
Then select all of the Teams that you want to give access to this address book from the Available Teams list and click the Add>> button.
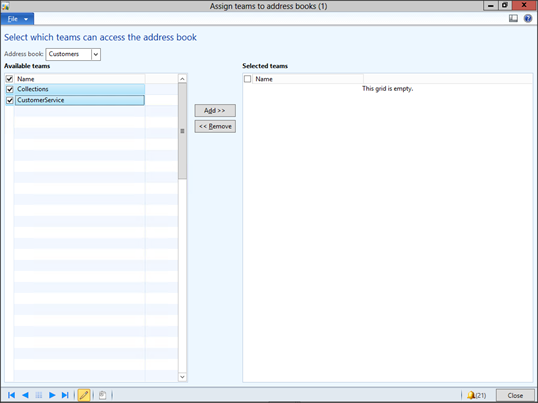
This will add them to the Selected Teams panel.

Repeat the process for all of the other Address Books and when you are done, click on the Close button to exit from the form.

How It Works…
Now when our users look at the Customers, they only wee the ones that they have been assigned.

Who said security is hard.

Share this post
- 0 comment
- Tags: Dynamics AX
0 comment