Configuring Social Media Information on Employees and Contacts
Posted by Author, Canine & Equine Choreographer, Citizen AI Data Scientist, and Dynamics 365 Global Black Belt at Microsoft on
When you set up contacts within Dynamics 365 Finance & Supply Chain Management, you have probably set up their contact information, including their email address and their phone number.
Did you know though that you can also track the contacts social media contact details as well, such as their Facebook, Twitter and LinkedIn profiles as well, giving you a one-click link from their profile within Dynamics 365 over to their social media landing pages?
In this walkthrough we will show how you can configure the social media profiles against contact records through the Employee Self-service Portal, and how the contact details can be used to open the profiles within Twitter, Facebook, and LinkedIn.
How to do it…
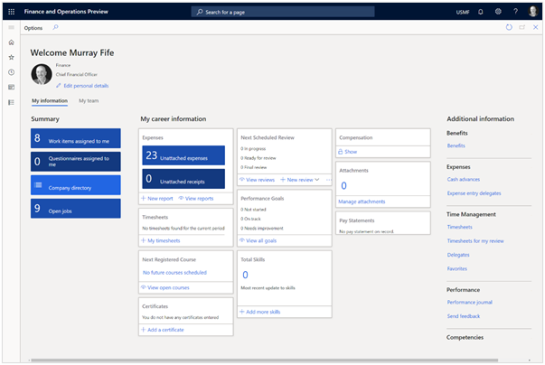
Step 1: Click on the Edit personal information button
We will start off in the Employee Self Service portal.
From here we will want to access the personal details for the employee.
To do this just click on the Edit personal information button.
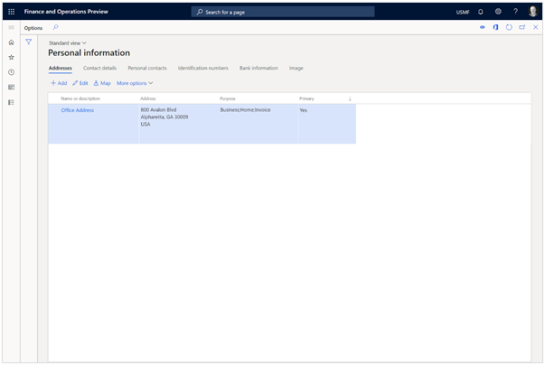
Step 2: Click on the Contact details tab
This will open the Personal Information details page for the employee.
We will want to view the contact information for the employee.
To do this all we need to do is click on the Contact details tab.
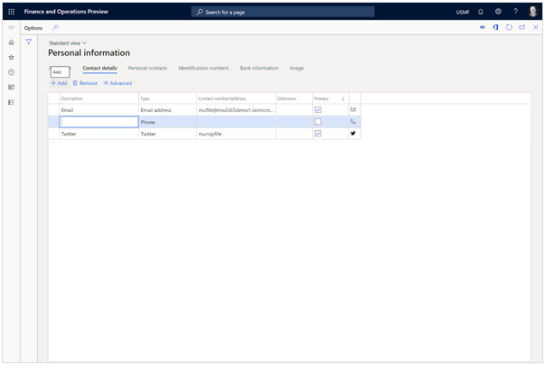
Step 3: Click on the Add button
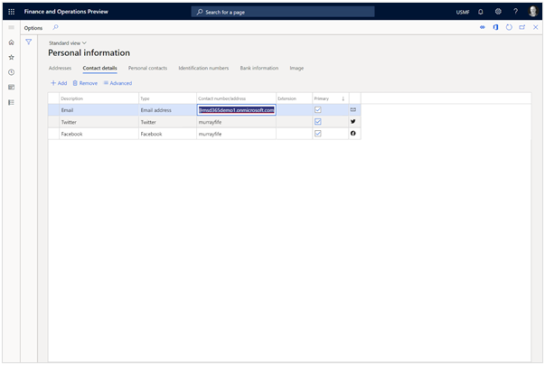
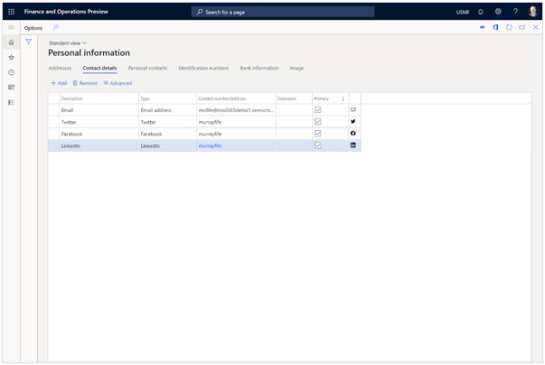
This will show us the Contact details tab pane.
The Contact details pane allows us to view all the different ways that we have available to contact our employee.
Right now we just have an email address for the employee, so we will add some more contact points.
To do this all we need to do is click on the Add button.

This will add a new blank contact record to the employee profile.

Step 4: Update the Description
Let’s start off by adding a Twitter handle to the contact details.
To do this just update the Description value.
This time, we will want to set the Description to Twitter.

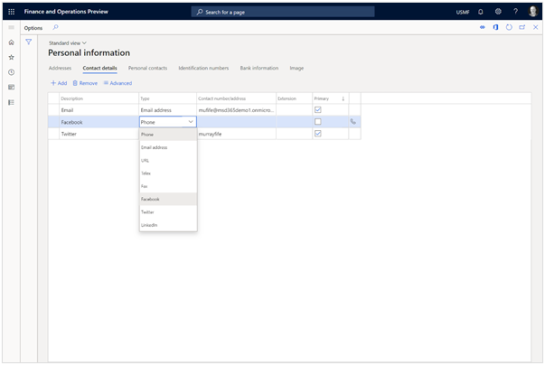
Step 5: Select the Type
Next, we will want to change the type of contact information that we are registering against the employee to indicate that this will be their Twitter handle.
To do this we will just need to select the Type value from the dropdown list.
This time, we will want to click on the Type dropdown list and select Twitter.

Step 6: Update the Contact number/address
And then we can add the Twitter handle for our contact.
To do this just update the Contact number/address value.
For this example, we will want to set the Contact number/address to murrayfife.

Step 7: Toggle the Primary
Finally we will want to mark the contact record to say that this is the primary Twitter handle for the employee record.
To do this we will just need to change the Primary value.
For this example, we will want to click on the Primary toggle switch and change it to the Checked value.

Step 8: Hold the CTRL key and click on murrayfife
Let’s check out the contact link to see if it will take it to the contacts profile on Twitter.
To do this all we need to do is hold down the CTRL key and click on murrayfife.

The next thing we know, we will be taken to the Twitter profile page for the employee.

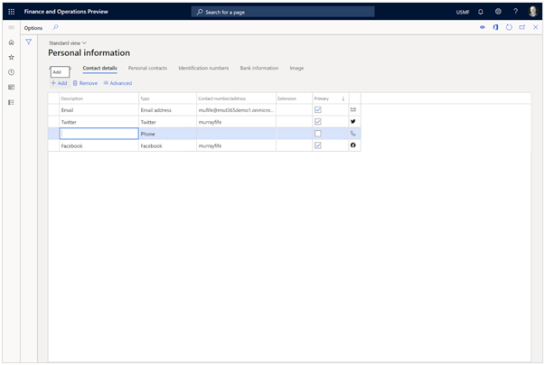
Step 9: Click on the Add button
Let’s continue and add some other social media profiles to the employees contact details.
To do this all we need to do is click on the Add button.
Step 10: Update the Description
This time we will want to add the Facebook profile details for the employee.
To do this we will just need to change the Description value.
This time, we will want to set the Description to Facebook.

Step 11: Select the Type
We will want to set the type for this record to be a Facebook profile.
To do this we will just need to pick the Type option from the dropdown list.
For this example, we will want to click on the Type dropdown list and select Facebook.
Step 12: Update the Contact number/address
Next, we will want to add the Facebook handle to the contact record.
To do this just change the Contact number/address value.
For this example, we will want to set the Contact number/address to murrayfife.

Step 13: Toggle the Primary
Finally we will want to mark the Facebook contact details that it is the Primary handle for the employee.
To do this we will just need to switch the Primary option.
This time, we will want to click on the Primary toggle switch and update it to the Checked value.
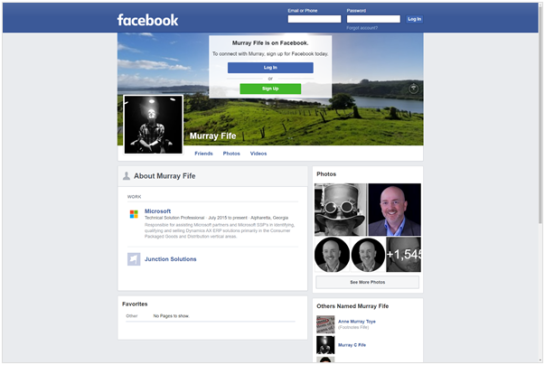
Step 14: Hold the CTRL key and click on murrayfife
Let’s check out the contact link to see if it will take it to the contacts profile on Facebook.
To do this all we need to do is hold down the CTRL key and click on murrayfife.

The next thing we know, we will be taken to the Facebook profile page for the employee.
Step 15: Click on the Add button
Let’s add one last contact record for the employee and add a LinkedIn handle to the employee record.
To do this just click on the Add button.
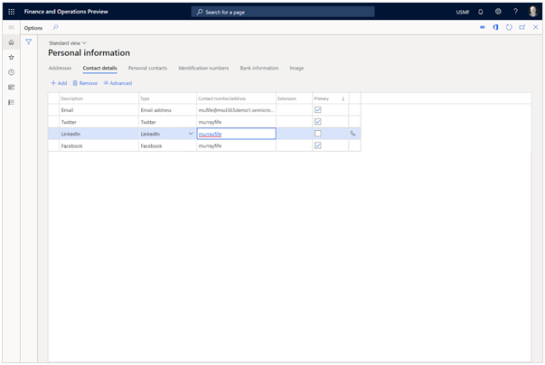
Step 16: Update the Description
To do this just change the Description value.
This time, we will want to set the Description to LinkedIn.

Step 17: Choose the Type
Next, we will want to select indicate that this record is a LinkedIn profile contact.
To do this just select the Type value from the dropdown list.
For this example, we will want to click on the Type dropdown list and select LinkedIn.

Step 18: Update the Contact number/address
Now we can add in the LinkedIn profile name to the contact record.
To do this we will just need to update the Contact number/address value.
For this example, we will want to set the Contact number/address to murrayfife.
Step 19: Toggle the Primary
And finally we will mark the record to show that this is the users primary LinkedIn profile.
To do this just change the Primary option.
For this example, we will want to click on the Primary toggle switch and update it to the Checked value.

Step 20: Hold the CTRL key and click on murrayfife
Let’s check out the contact link to see if it will take it to the contacts profile on LinkedIn.
To do this all we need to do is hold down the CTRL key and click on murrayfife.
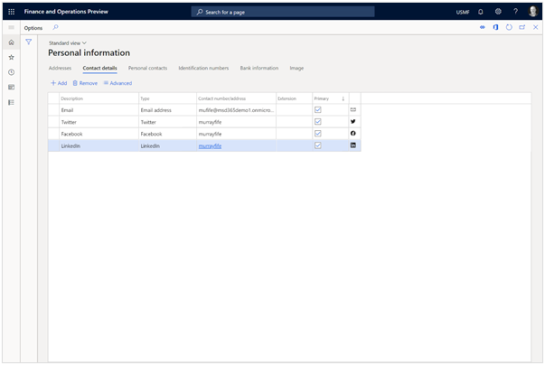
The next thing we know, we will be taken to the LinkedIn profile page for the employee.

Summary
How cool is that. We can now have a direct link from the contact details on our employees, over to their Social Media accounts, and from the contact records, we can quickly open the profile pages for Twitter, Facebook, and LinkedIn.
Share this post
- 0 comment
- Tags: Uncategorized
0 comment