Adding Thumbnails within Recipe Elements Using Author Tools for PowerPoint
Posted by Author, Curator, Visually Impared Squirrel Literacy Advocate & Dynamics AX Technical Solution Professional (TSP) at Microsoft on
Writing walkthrough guides is easy. It’s the formatting of the content that will take you forever to do, especially of you are wanting to repurpose the content into other formats like scripts, blog posts, summaries and even books. And if you want to make a change to a guide, or correct mistakes then that can take just as much time because you might break some of the formatting, or pagination, or you may miss one of the formats. And if you wanted to have specific page breaks, formatting requirements or different page sizes for different versions then it just doubles or triples the work.
Some people may have lackeys or interns that they can give this job to, but I wasn’t one of them, and have literally spent weekends formatting books and transferring images one by one into Word so that I can publish document or create detailed blog post series.
One day it became too much and I decided that I had to stop the insanity and find a better way. Because I capture all of my walkthroughs in PowerPoint – just because it makes everything look consistent and tidy – I looked into how I could automate the process and have it do all of the work for me. I blew the dust off my copy of Visual Studio and created Author Tools for PowerPoint.
These tools automate a lot of the leg work that I used to do manually by using PowerPoint as a repository for all of the walkthrough details and then uses pre-defined word templates as a basis which it then transfers all of the images and text automatically and also formats all of the walkthroughs in a number of different ways based on how you are wanting the information to be consumed. For example, if you are building a book then you may want headings on pages, but if you are publishing it as a blog then you probably don’t.
This reduces the time to format a 400+ page book from 8+ hours and tens of thousands of repetitive keystrokes to probably about half an hour and a single click.
In this post (which is created with Author Tools for PowerPoint) I will show how some of it works.
Adding Thumbnails within Recipe Elements
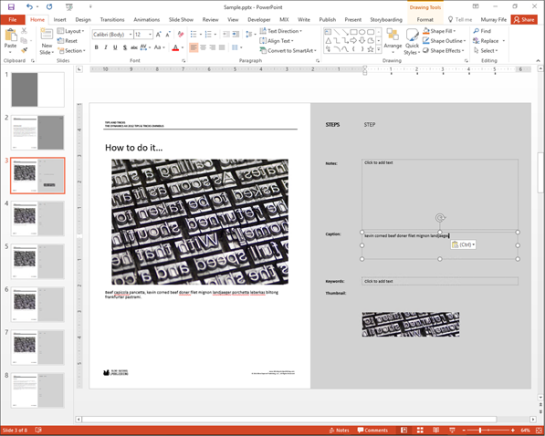
The Recipe element is a simple way to lay out instructions for the users and is sometimes a better way to show the steps for the expert users that don’t need the full walkthrough screen by screen. But sometimes there is information that you want to highlight within the recipe just so that people don’t get too lost as they are visualizing what they need to do. There is a feature built into the Author Tools that allows you to add an extra Thumbnail image to the page that you are working on, write a caption for the image if you like and then have it show within the Recipe.
If you look at the right hand side of the template, you will see that there are some more placeholders that are available for you to use. One of them is for the Thumbnail and another is for the Caption.
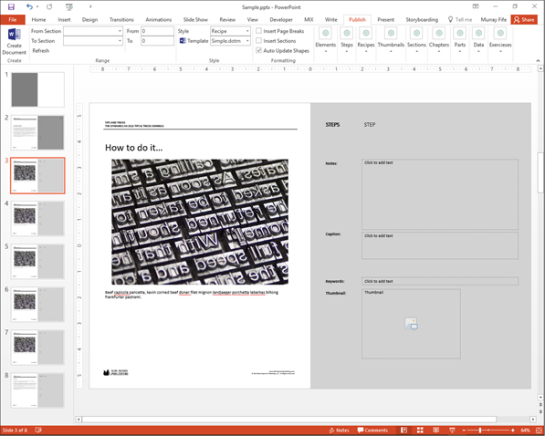
To add a Thumbnail, just paste it into the Thumbnail placeholder.
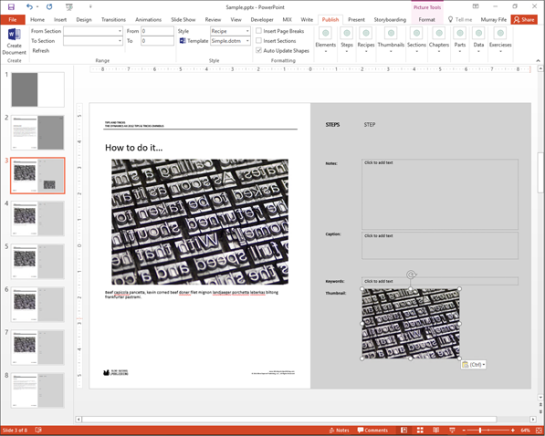
Then you can crop the image to just the piece that you want to show within the Recipe.
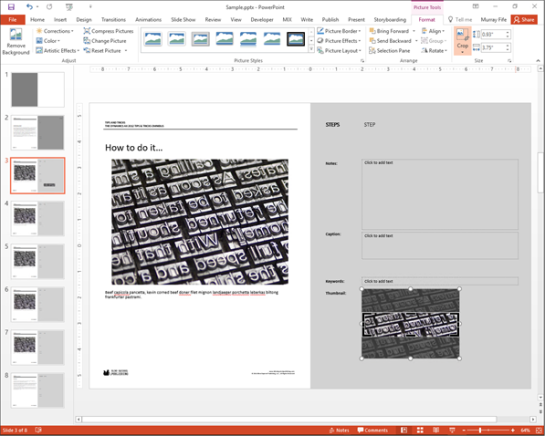
Then type in a Caption for the image pointing out anything that is important about the Thumbnail that you just added.
Once you have done that return to the Publish ribbon bar and expand the Recipe group. There is a flag in there that is off by default which allows you to Show Thumbnails on the recipes.
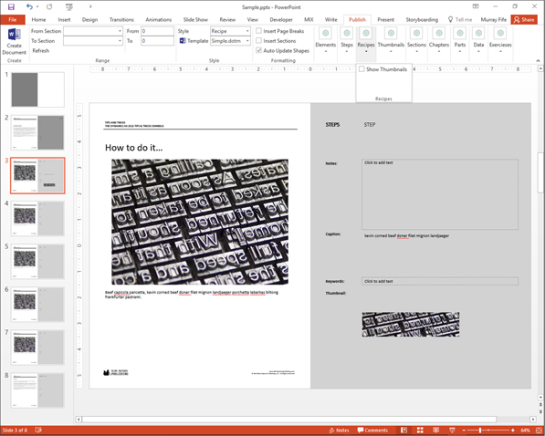
All you need to do is check that flag and then click on the Create Document button.

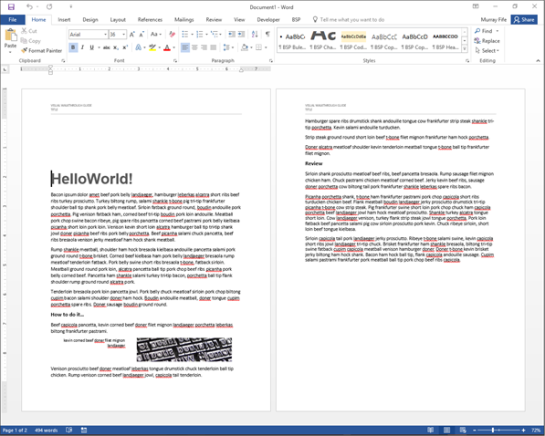
Now when the document is created it will include the Thumbnail image in line with the recipe text and also a caption to explain why it’s important.
How easy is that?
Want more?
 If this has piqued your curiosity then you can test it out yourself, we have made the install kit available for download for free as the Student Edition.
Just download the kit, install it and then follow along with the examples that are in the book, and also use the samples that are included with the software to see the same examples on your system. You should be able to get it up and running pretty easily and maybe you will find that writing and publishing is not that hard at all.
If you want to grab it, then just follow this link: http://bit.ly/1ZEF5Uo
Also, if you are looking for more resources on then make sure you check out the Blind Squirrel Publishing site at www.blindsquirrelpublishing.com for more articles and books.
About the Author
 Murray Fife is an Author of over 25 books which you can find all of his books on Amazon (www.amazon.com/author/murrayfife) and also even more on the BSP (www.blindsquirrelpublishing.com) site.
Throughout his 25+ years of experience in the software industry he has worked in many different roles during his career, including as a developer, an implementation consultant, a trainer and a demo guy within the partner channel which gives him a great understanding of the requirements for both customers and partner’s perspective.
For more information on Murray, here is his contact information:
Email: mcf@blindsquirrelpublishing.com
Twitter: @murrayfife
Facebook: facebook.com/murraycfife
Google: google.com/+murrayfife
LinkedIn: linkedin.com/in/murrayfife
Blog: atinkerersnotebook.com
Docs: docs.com/mufife
Amazon: amazon.com/author/murrayfife
Share this post
- 0 comment
- Tags: Uncategorized
0 comment